What You Need to Know to Plan Your Las Vegas Food Shoot with a Professional Photographer
Why Planning Your Professional Food Shoot Is Important
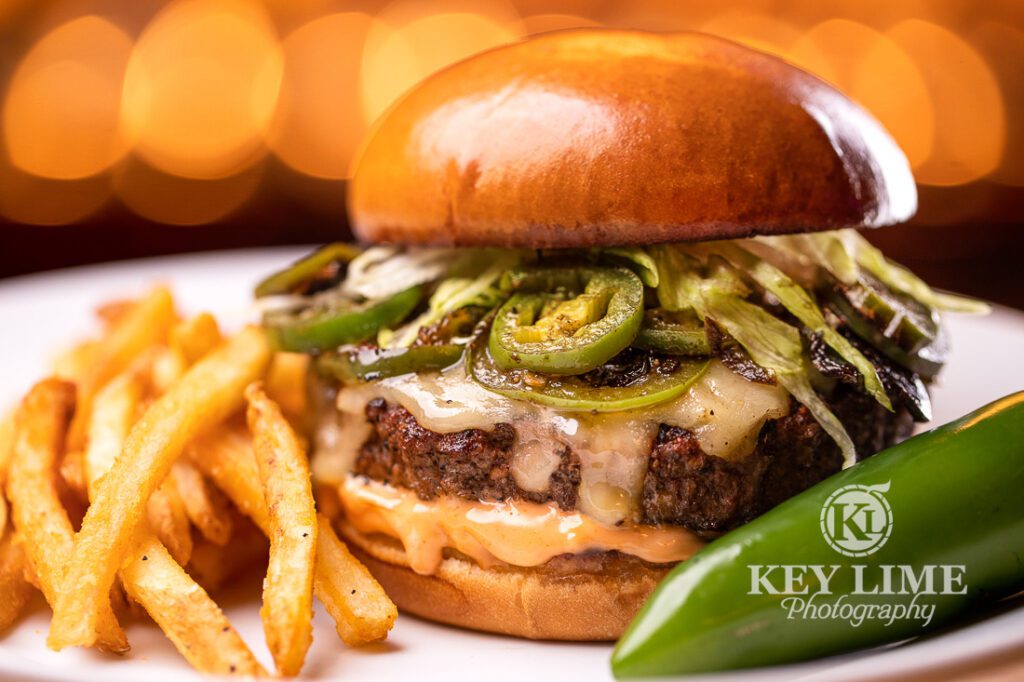
A food photography session is much more than just a cell phone snap of a plate of food. It is a large-scale project that is meticulously planned and executed with incredible detail. Your menu items are the models and you need a whole crew to make that beef patty look like a superstar. Hiring a professional Las Vegas food photographer and crew really pays off. Restaurants with quality food photos can boost sales by a whopping 24%!
Whether you’re promoting a new restaurant, showcasing a seasonal menu, or sending out a PR release, you’ll want to plan the purpose and direction of your food photo shoot to get the most return on investment. Read on to read the step-by-step guide from Key Lime Photography that we’ve fine-tuned from years of being chosen to capture photos by the leaders of the visual and culinary arts in Las Vegas.
Guide to Planning a Professional Food Shoot
1) Decide What Your Images Will Be Used For
Do you want your photos to make a statement as they appear as an ad in a magazine? Are you releasing a new holiday menu and hope to capture that same feeling of celebration? Are you looking to recreate a dining scene to promote a restaurant opening? Will you need additional photos to promote on Instagram or other social media platforms? Are you advertising a catering menu for large groups?
There are so many different reasons to hire the best food photographers to take images of your food. If you are wondering how to guide Las Vegas food photographers to get the results you’d like, then answer these questions first:
- Where will you be advertising or posting the pictures (website, social media, print media)?
- What audience we you targeting (corporate events, business management, large celebration groups, holiday or brunch goers)?
- What kind of message you sending? Are you showcasing high-end food or down-to-earth comfort? Do you want to show off a modern aesthetic or classic look?
These are just a few of the questions your food photographer will ask to make sure you get exactly what you desire in your final images. Starting with your intended use, target audience, and conveyed message will help you through the next steps.
2) Discuss Your Creative Direction or Theme

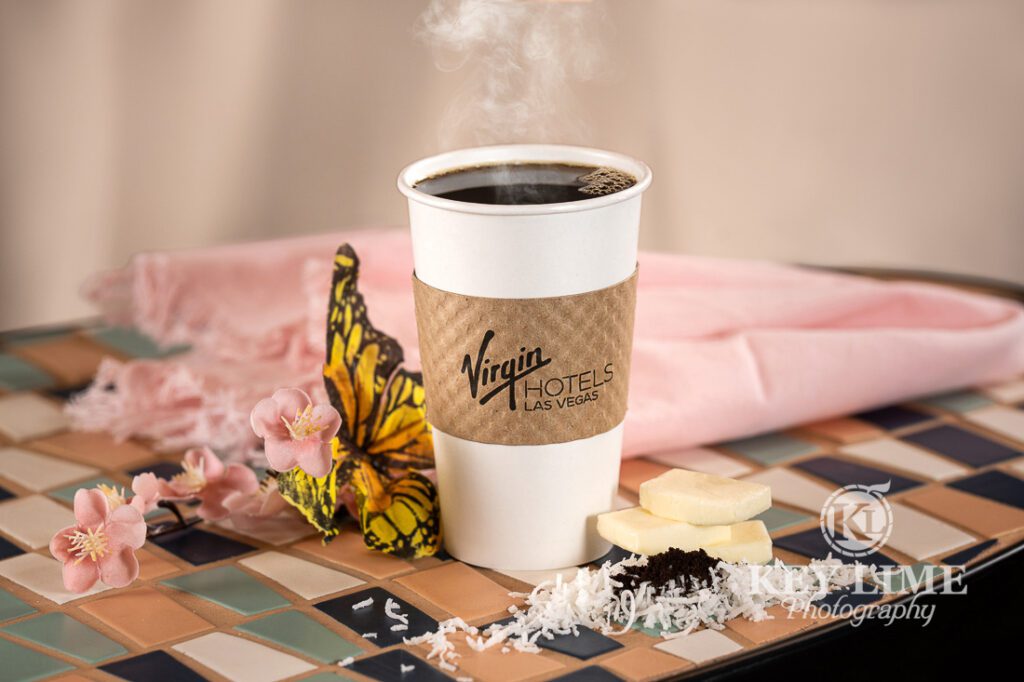
There are many factors that go into creating a theme, ranging from background colors, plates and utensils, side food and beverages, lighting, etc. A good place to start is with the theme of your restaurant. If your restaurant is Moroccan inspired or Japanese cuisine, you’ll want to follow specific cultural designs. Restaurant design and features can affect your theme. For example, Kassi Beach Club is inspired by Italian seaside. It has warm natural wood interior design and a poolside patio.
If you have a seasonal menu, include holiday décor and colors like seasonal pumpkins, holly, hearts, dyed eggs, and so on that reflect the holiday feeling.
Would you prefer something more evergreen like a white background so your menu can outlast ever changing restaurant decor? Have a conversation with your photographer. What sets your restaurant apart? What makes your dining experience unique? That is what you’ll want to incorporate into your vision. Your photographer will make sure the extra side dishes, raw ingredients, décor items, and background all support your theme.
3) Determine Space at Your Location

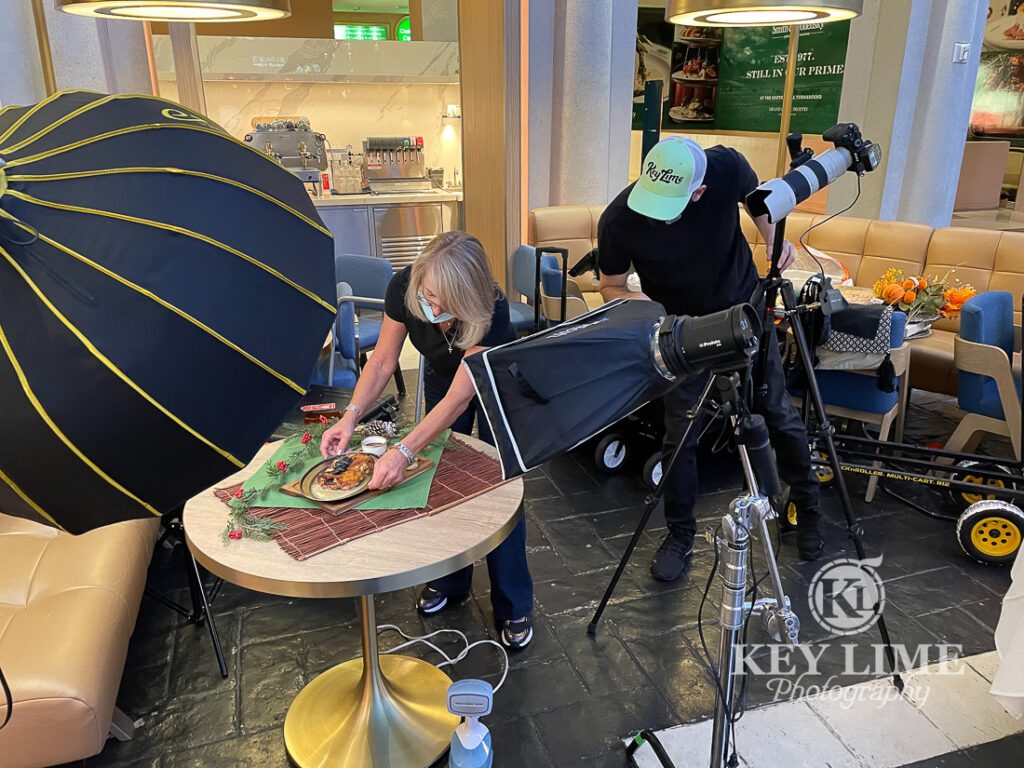
Discuss the logistics with your photographer. Reserve a space in your restaurant, ideally before the restaurant opens or during low traffic times. Yes, food photographers can make it work in a small space, but the more space you provide, the easier it will be to maximize photos during your shoot.
Utilize the design in your space to make textures jump and the atmosphere come through the image. Use different walls, tables, or counters with colors, patterns, and materials that could be leveraged for variety. Lighting plays a huge role in creating a specific mood, and proper location planning will help streamline the set up during your shoot.
4) Develop Your Shot List and Menu
One of the critical tools of any successful food shoot, the shot list lays out all of the menu items, drinks, and group shots that you’d like to take. Make sure the menu item description is listed exactly as it is on your menu; this allows the photography team to determine what lighting and décor would pair nicely in the photo. Also, be sure to include items that you’d like in a group shot or overhead shot so the team bring the appropriate equipment. (See item #6.)
5) Discuss Timing of Food Preparation
Food is temperamental. Lettuce wilts, ice cream melts, steak hardens. Using your shot list, collaborate with your chef to time out when the menu items are prepared and ready. The dishes need to be as fresh as possible; your photographer will coordinate with the chef, sous chef, or cook when one food item is almost done being photographed so the next food item can be prepared. Your photographer will reset lighting and décor while the dish is being finished.
Added tip: make multiple dishes of everything. Once you pour sauce, it can’t be undone. And you don’t know exactly how it will look until you try. Just bring out multiple identical dishes together for several takes.
6) Discuss Overhead and Group Shots
When it comes to group shots, there’s a lot more equipment involved. You need to change all of the camera angles and entire lighting set up. You also need to move all of the décor elements. When you have 8 dishes, 2 glasses, 2 napkins and 6 utensils, it takes time to place them perfectly. Decide in advance whether you’d like group shots to be overhead shots or eye level. These photos are usually done at the very end (once all of the individual food photos have been taken).
7) Invest in a Food Stylist

Just like The Rock’s wax figure team painstakingly chiseled him to perfection for Madame Tussaud’s new collection (and we were there to capture it all!), preparing attractive food is an art. You’d be surprised how often food just looks like a bowl of mush.
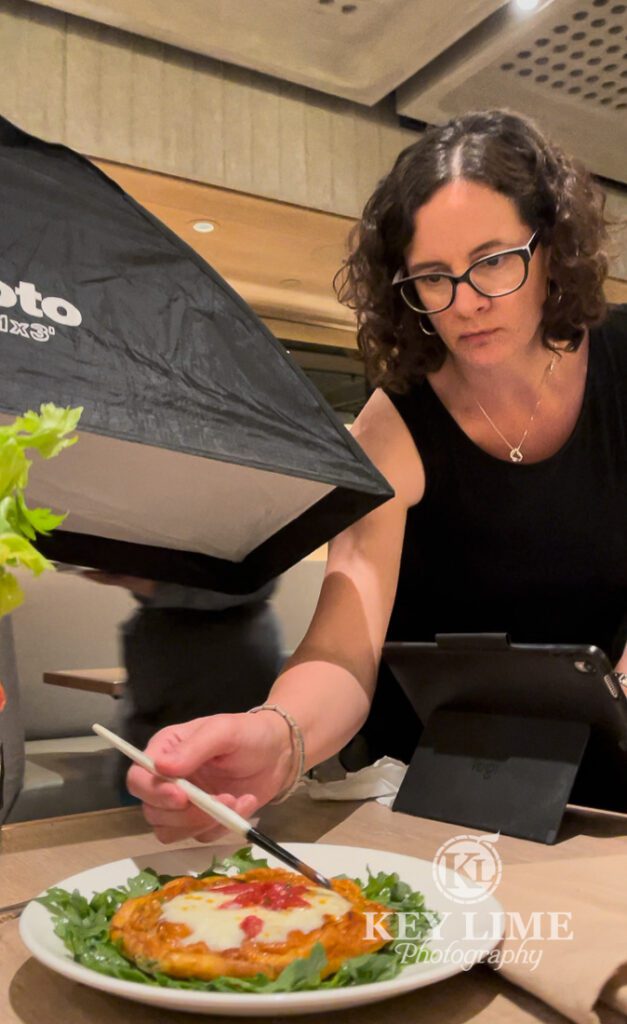
People hire food stylists for a reason. They pay attention to every detail, from finding the most perfectly red and blemish-free strawberries to plucking out the smoothest piece of butter lettuce. Your stylist makes sure that the crumbs are laid out just so and the melted cheese pulls apart in the right way. They bring a whole kit of props, ingredients, tools, and tricks to make your food look fresh and enticing.
8) Consider Adding Architecture Photography and a Promotional Video
While you have a professional production crew onsite, it might be a good time to capture architectural photos of your venue to display on your website or third-party app like Yelp or Grubhub. You can even add videography services to create a reel for Instagram, social media, or news channels.
Follow these eight planning tips items and you’ll be making the most out of your food photography session and your marketing efforts for your restaurant or menu.
Ready to hire your professional food photographer? We can’t wait to work with you! Contact Key Lime Photography today!
Contact Us
"*" indicates required fields
